Back to tutorials
SAVING A FULL BLEED A3 POSTER
WITH CROP MARKS AND FULL BLEED
STEP 1: Page 9 of our Print Bible explains what we require for printing full bleed posters
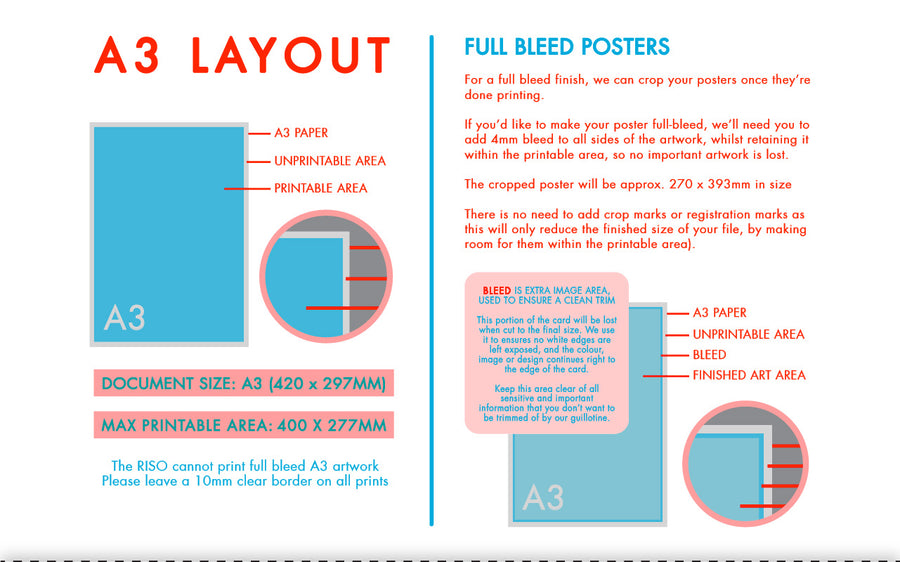
STEP 2: Download our 'Full Bleed Poster Template' to see the printable are and bleed guides.
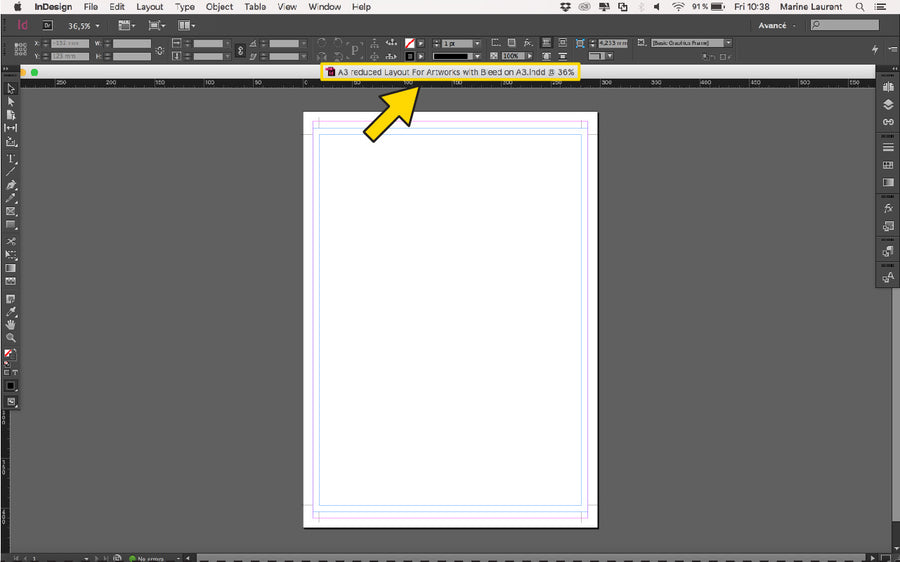
STEP 3: Drag and drop your files to sit inside the crop marks and the bleed area.
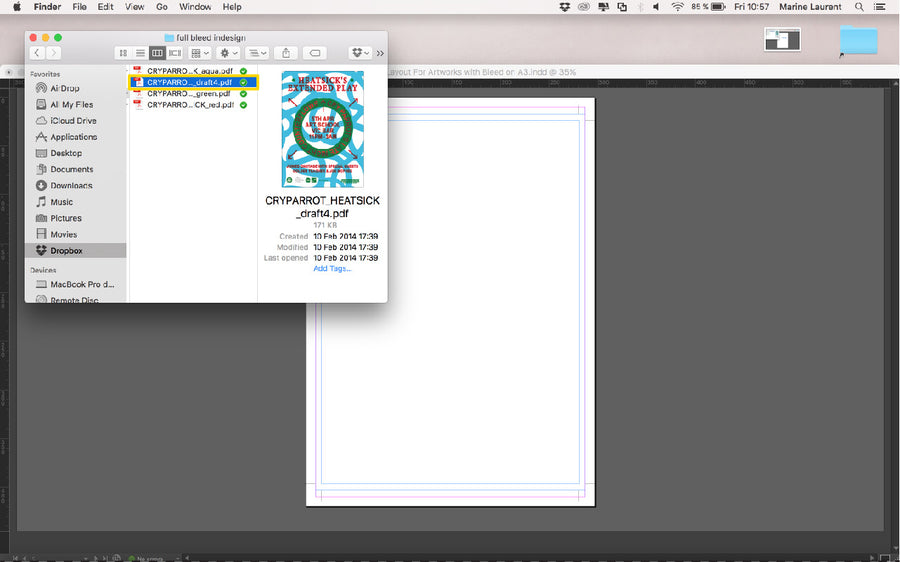
STEP 4: Adjust your artwork and make sure each layer is aligned
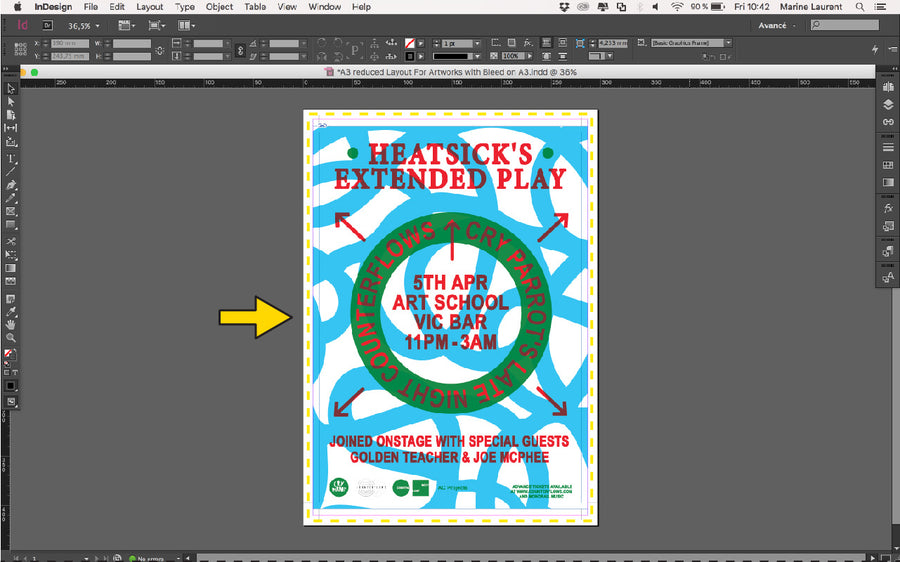
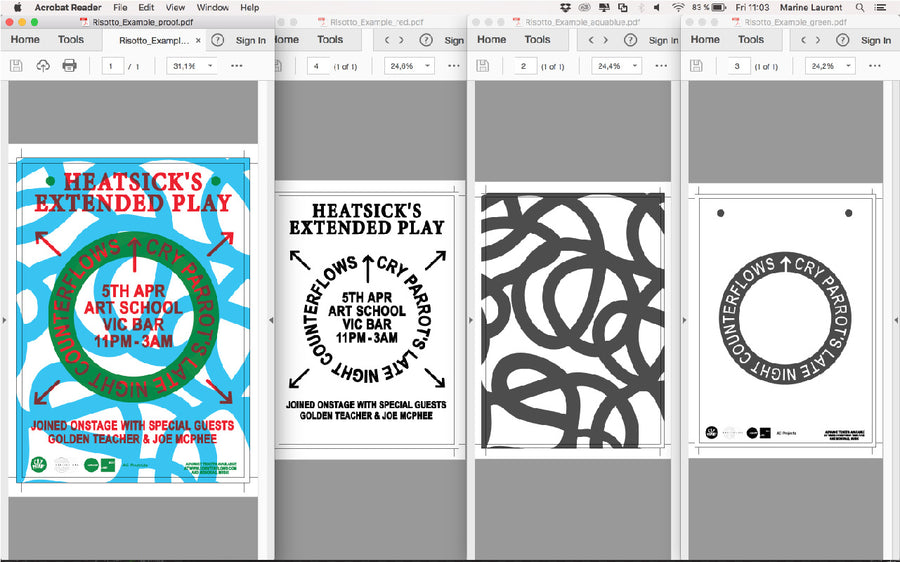
STEP 5: Here you can see the Aqu Blue stencil sitting within the printable are. It is important to check that no key content will be cropped off.
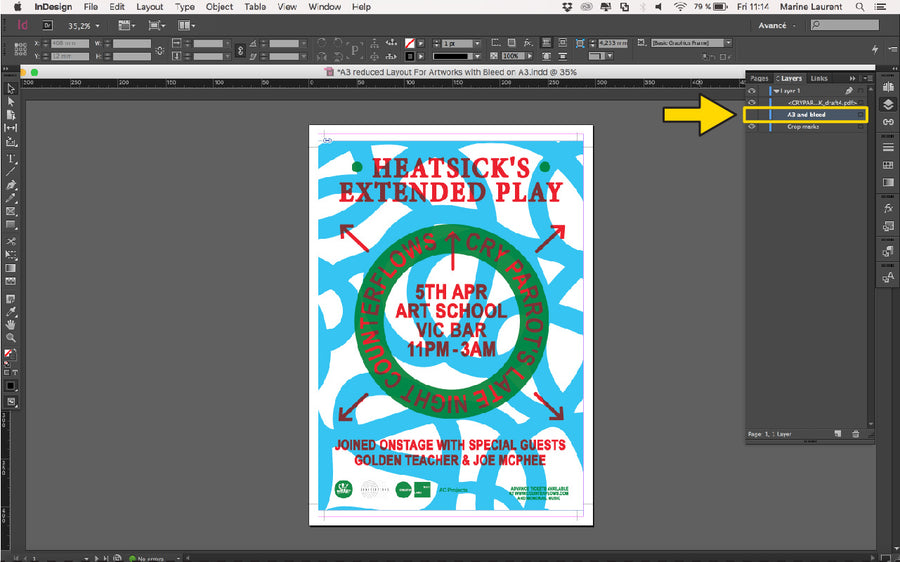
STEP 6: Before saving your file, turn off the 'A3 and bleed' layer. It is not essential to turn off the 'crop marks' layer - either way works for us!
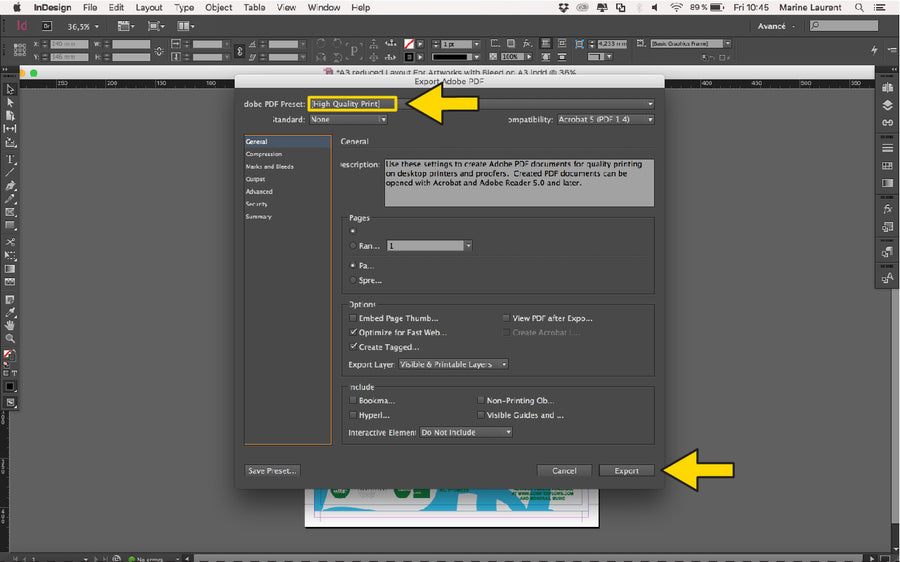
STEP 7: Remember - To save your file, go to 'Adobe PDF Presets' and select 'High Quality Print' to save your layers and proof files

STEP 8: Name your file to include, your name/project name, and the colour of ink you’d like it printed in. If it’s double sided - let us know if it’s ‘Side A or B’.
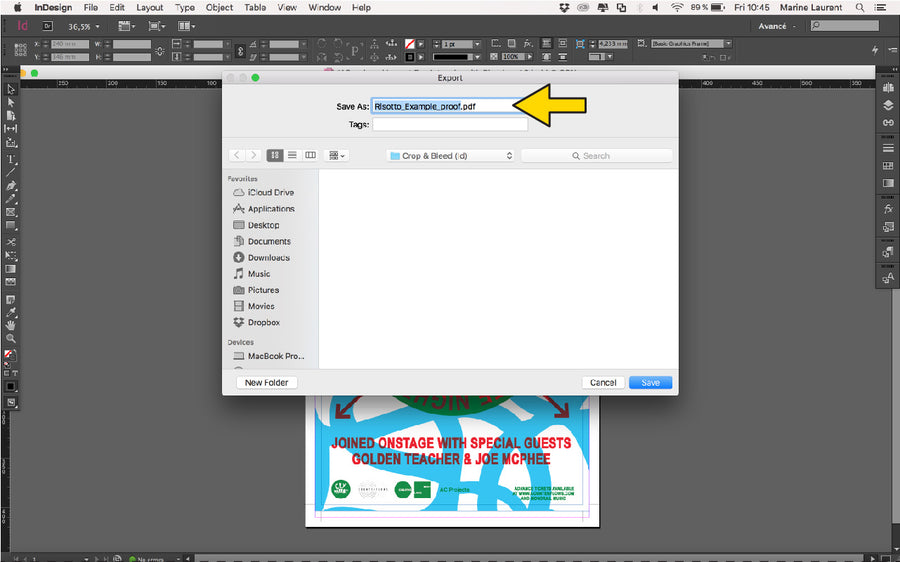
STEP 9: Select ‘High Quality Print’ from the 'PDF Preset' menu. Click ‘Export’. Do the same for the others colours.
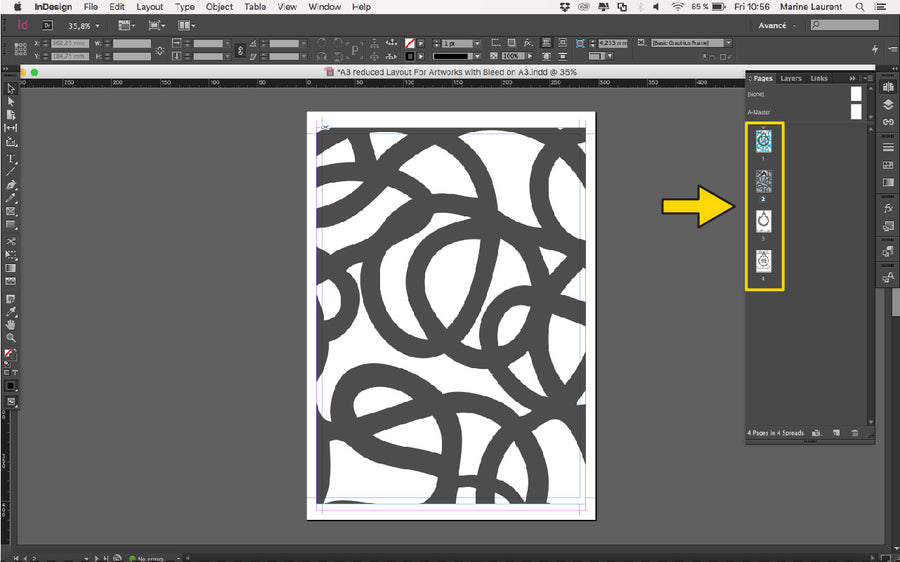
STEP 10: You should now have four PDFS - proof and your three greyscale stencils. You're 10 now ready to print!